Getting the dirt out of your stove burner isn’t impossible but it’s really hard and could be tiring. Over time, water and other substances that make it out of our pots enter into all the corners of the stove burner making it look ugly and very demotivating to cook with. You’re investigating new and easier ways to make your cooking burner and lucky enough, you found this post.
We are going to put you out of this misery and show you a better way to make your burner look as clean as new.
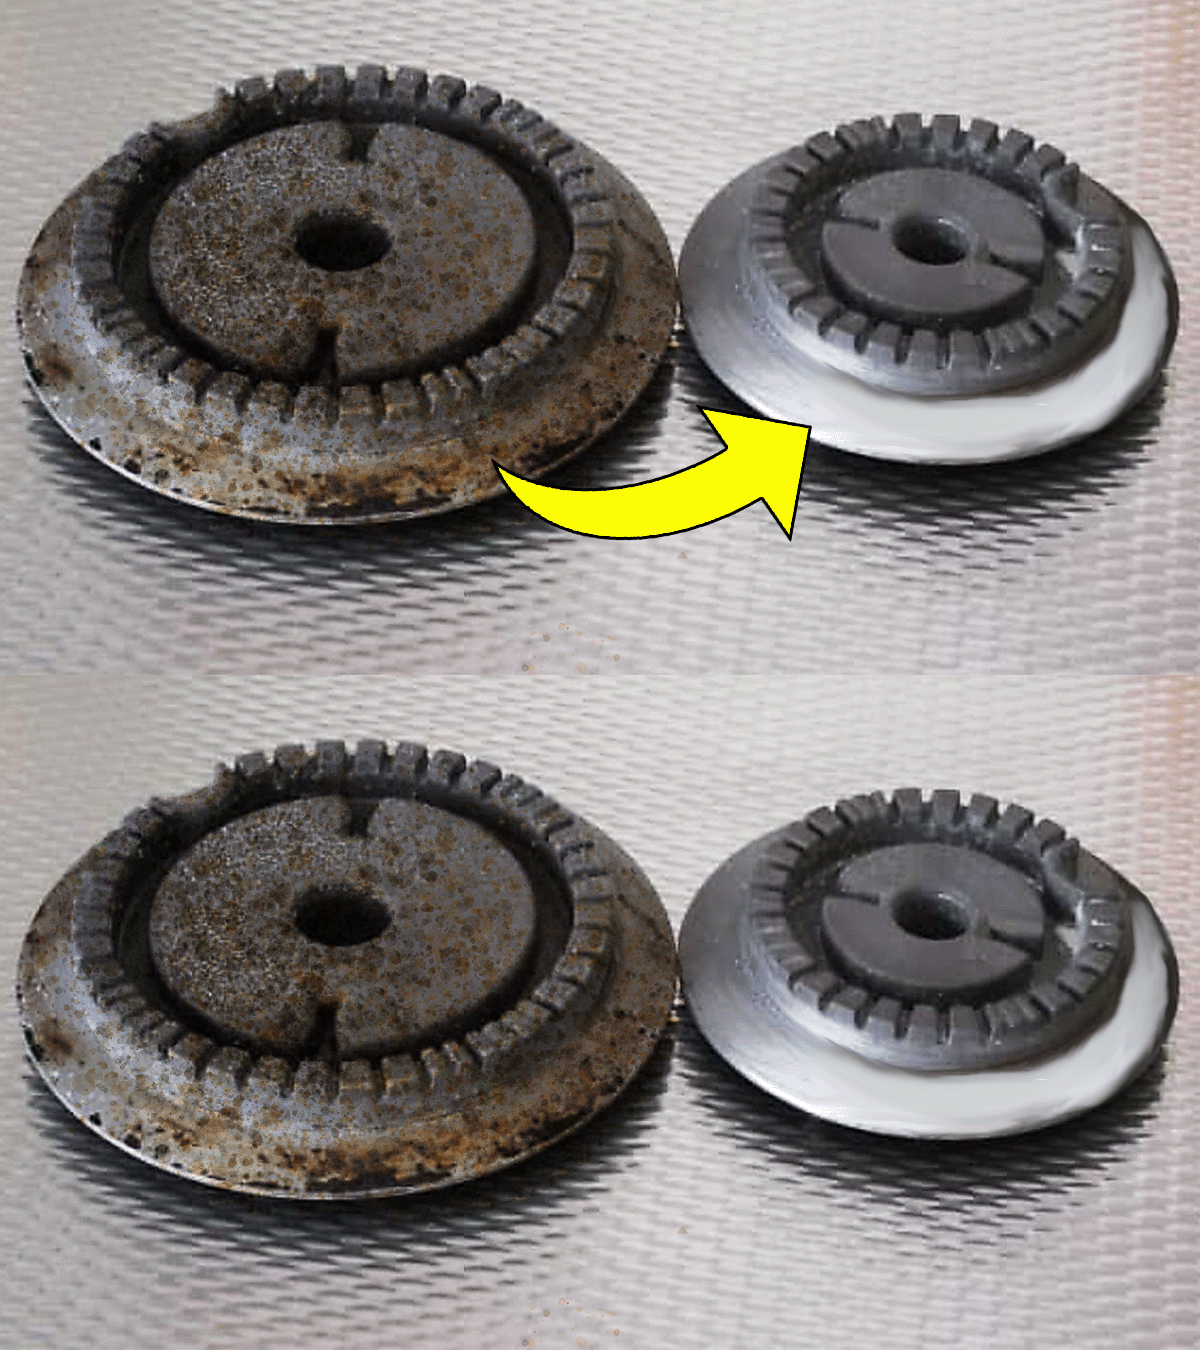
Can homemade items and cleaning agents truly make my stove burner spotless?
Any decent kitchen article would be lacking if it didn’t include some helpful cleaning advice. Stoves that are dirty and greasy, as well as pots with marks, appear older and can even impact the flavour of food. That’d be bad. However, most of the time, we only clean our kitchen items on the surface, nothing too rigorous to keep the kitchen looking sparkly for longer. The tips we provide will make cleaning not just easier but to deliver better results. Let’s find out on the next page.
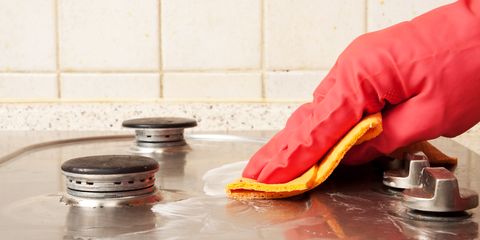
Cleaning Stove Burners The Right Way Protects You and Your Kitchen
With this method, keeping your stove burner and pots clean has never been easier and this is what makes it so important because we can’t let dirt wage war on us on our watch. In case you don’t see why keeping the stove burner clean is so important, here’s a brief explanation to help you understand.
When the dirt builds up, it has the potential to jam the openings where the gas escapes and we all know that gas can create terrible explosions. To avoid such problems, it is best to ensure that all gas-powered equipment is operating at its best. Sticking with the following steps judiciously at least once a month will keep you on a safe page.
Here’s a list of things you’ll be needing:
- Non-abrasive sponge
- Detergent
- Bicarbonate of sodium
- Napkins for cleaning
- A worn-out toothbrush
- Paper clip
There are detailed instructions on what to do with every item on the list on the next page.
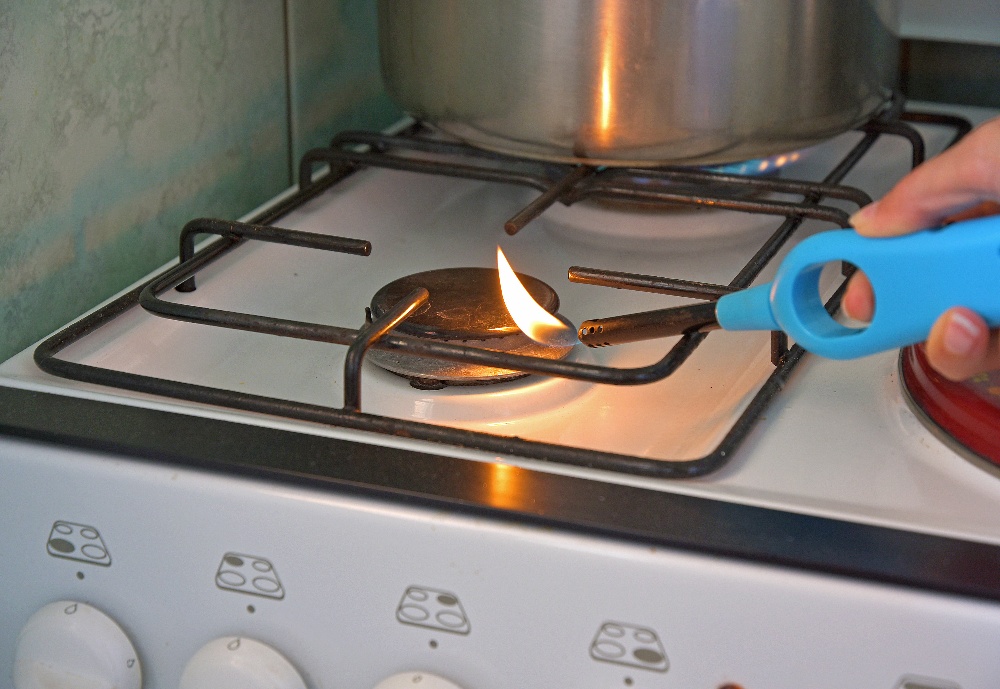
Step One: Cleaning the lips and lids
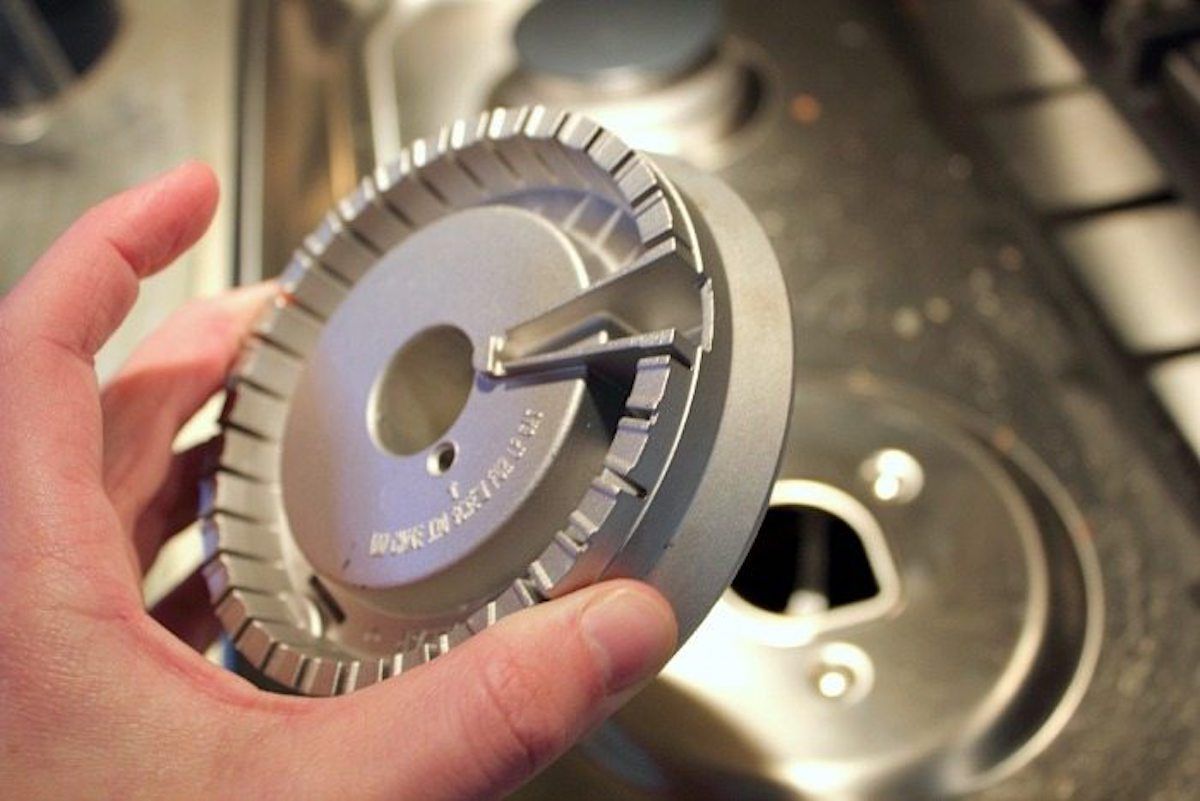
If you’re using a gas stove, you’ll need to close the gas valve first. You should remember to do this to avoid an explosion. There are caps on top of the lid that help spread the flames. The bases, also known as diffusers, are located beneath these covers (spreaders). Carefully lift the spreaders and diffusers vertically to remove them.
Soak the two pieces i.e the spreaders and diffusers for 30 minutes in a dish of heated baking soda water. After that, use the non-abrasive sponge to scrub the spreaders and diffusers. You can now use a toothbrush dipped in a warm soapy water mixture to reach deep and narrow corners.
Another tip to unclog the gas holes is to use the end of a paperclip. To make a straight edge, bend the clip. This should suffice to get the hard dirt out the corners. However, if you use an electric burner, there are other steps you must follow and we’ve compiled them for you.
Step 2: the best way to Clean Electric Burners Without Damage
To clean electric diffusers, you’ll need the following items:
- Detergent
- Non-abrasive sponge
- microfiber cloth with sodium bicarbonate
- Cloths for cleaning
Instructions for use
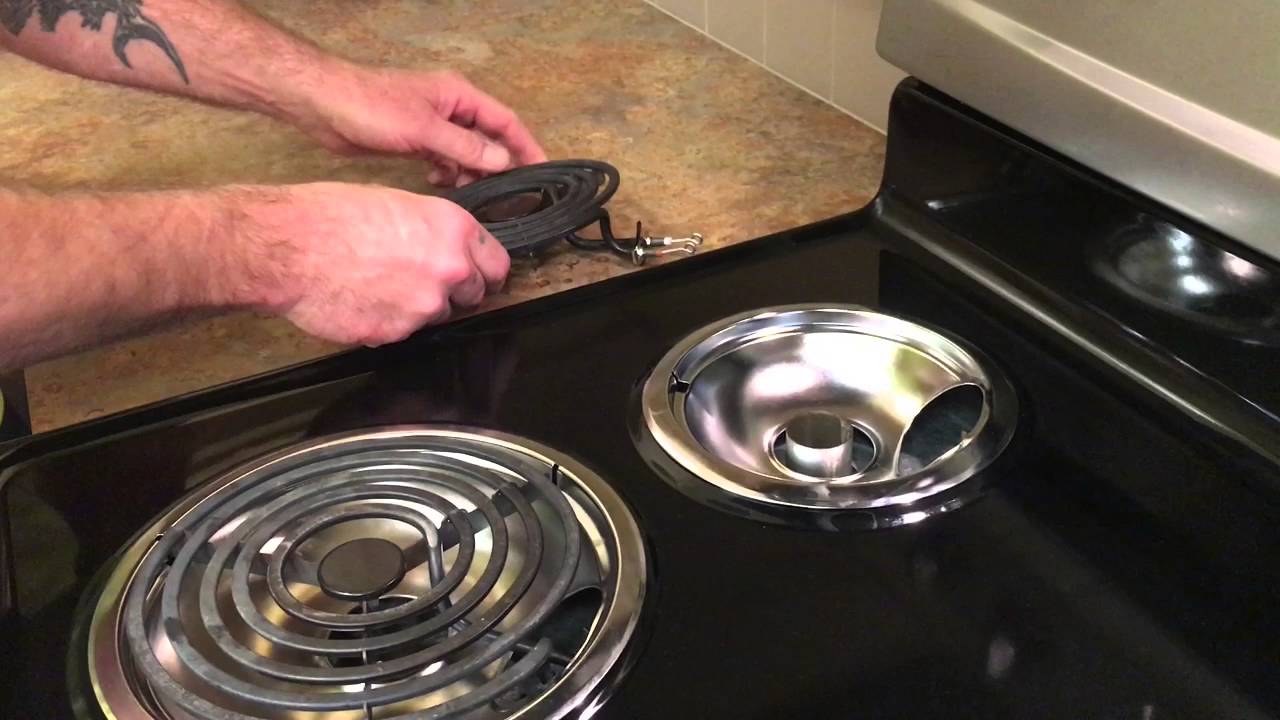
Turn on the burner for a few minutes to burn off food residue if the heaters and lids are full of grime. Wash the covers in warm, soapy water and soak them in a combination of 2 parts. First baking soda and secondly pure water and wait 15 minutes.
Clean the heating elements with a moist cloth while the covers are drying off to eliminate dirt and stains. Rinse the lids to remove any baking soda residue and wash the parts with soap and running water.
Finally, wipe with a soft cloth to complete. Once the pieces have cooled, fix them back on the burner.
It’s now time for the last step. Find out the easiest and most protective way to clean the top of the stove on the next page.
Best way to clean the stove’s top
Another precaution you should keep at the back of your mind is when using a gas stove, you must be very careful not to get the lighters wet.
To soften and peel off the residue from the uppermost layer, wipe the surface with a moist cloth. To finish eliminating the grime, use a sponge and soap, followed by another towel. You can keep at it until the surface is clean enough. However, some stains may be so dry and stubborn to take off. In this case, you can use the baking soda mixture described in ‘Step 2’ to remove more stubborn grime. Apply the mixture to the affected areas and leave for 15 minutes.
Cleaning your stove should never be a problem, whether it’s gas or electric. Paying extra for the service, buying expensive products and spending too much time cleaning your stove burner can always be avoided. Follow everything laid out in this post and you’ll never have to worry about cleaning your stove again!


